Are your website images dragging down page speed and user experience? You’re not alone! Many creators and business owners use Canva to design eye-catching graphics but forget to optimize—or compress—images before uploading them online. In this guide, you’ll discover exactly how to compress images from Canva before upload, why it’s crucial, and the simplest workflows to make every image web-ready. With stepwise instructions tailored for beginners to pros, you’ll soon master Canva image compression for quicker uploads, snappier sites, and happier visitors. Let’s dive in and future-proof your images for digital success.
What is Image Compression in Canva & Why Bother?
When you create beautiful visuals in Canva, it’s tempting to download and upload them as-is. However, raw images from Canva are often larger than they need to be, making your blogs and webpages load slower. Image compression is the process of reducing file size—without a noticeable drop in quality—by removing unnecessary data from your images. This technique ensures your content uploads quickly and looks sharp, whether it’s a blog banner, product image, or social media graphic. Compressing images from Canva before upload is the smart move for boosting site speed, SEO ranking, and user satisfaction.

Why Compress Images From Canva Before Upload?
Still wondering why it’s important to compress images made in Canva before uploading? Here are the main benefits you’ll enjoy:
- Faster page loads—Keep visitors from bouncing (and Google happy) by making your website snappy!
- Improved SEO—Google favors speedy pages. Smaller images mean better rankings and more organic traffic.
- Reduced storage costs—Save precious hosting space by uploading lightweight images.
- Seamless mobile experience—Compressed images load faster on any connection, especially for smartphones.
- Consistent quality—Keep crisp visuals (logos, screenshots, banners) with the right compression techniques.
- Faster uploads and backups—Small files mean no more slow uploads to WordPress or cloud storage.
Popular Use Cases for Compressing Canva Images Before Upload
The need to compress images from Canva before upload applies across so many digital projects. Here’s where image compression makes the biggest difference:
- Blog covers, feature images, and social thumbnails
- Online shops—product images, banners, and gallery shots
- Portfolio and landing pages requiring fast, responsive visuals
- Email newsletters with lightweight, sharp graphics
- Mobile-apps and progressive web apps needing tight performance
- Resumes, presentations, and downloadable guides
If you publish anything online, compressed images can deliver an instant win in usability and overall success.
How to Compress Images from Canva Before Upload: Step-by-Step Process
Let’s walk through the easiest ways to compress images created in Canva before upload using both Canva’s own tools and other trusted methods. Whether you’re a free or Pro user, these simple workflows will help.

1. Compress Directly from Canva (Free & Pro Options)
Canva makes it simple:
- Finish your design in Canva.
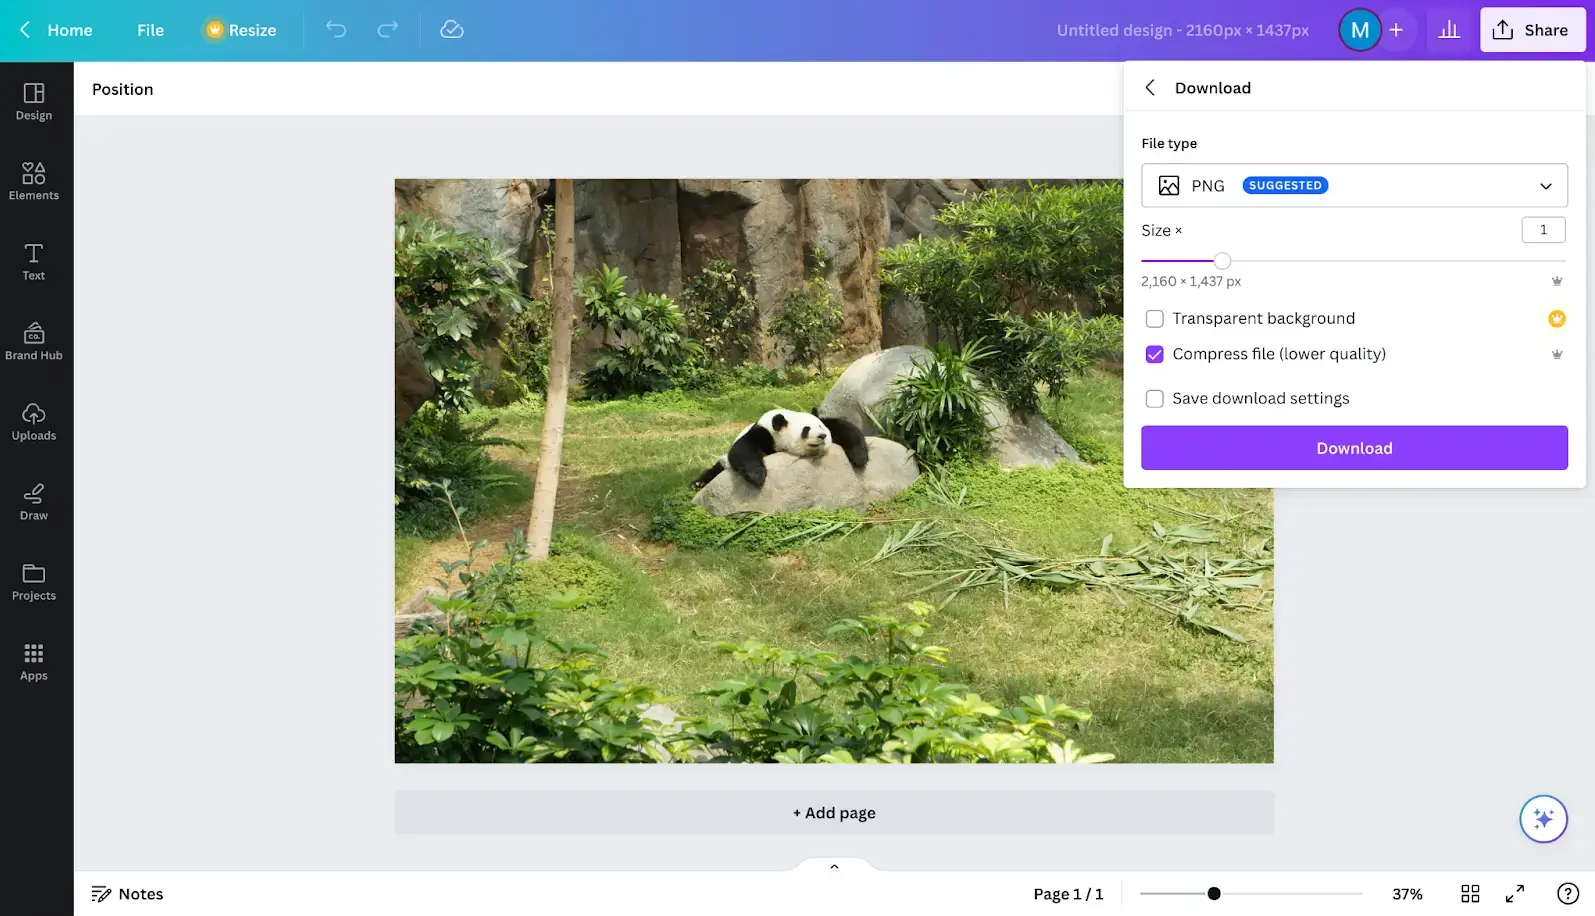
- Click the purple Download button on the top right.
- Select an optimized format:
- JPG (JPEG) — Best for photos and gradients. Canva lets you adjust the ‘Quality’ slider (Pro feature).
- PNG — Use only if you need transparency or sharp graphics.
- PDF — For documents or high-res prints (not for web uploads).
- If using Pro, move the Quality slider left to reduce file size (60-80% is ideal for web use).
- Click Download and save your image.

2. Resize Image on Canva for Web (Optional)
Make sure your design’s pixel dimensions match your website’s layout. Bigger than needed images waste bandwidth. On Canva:
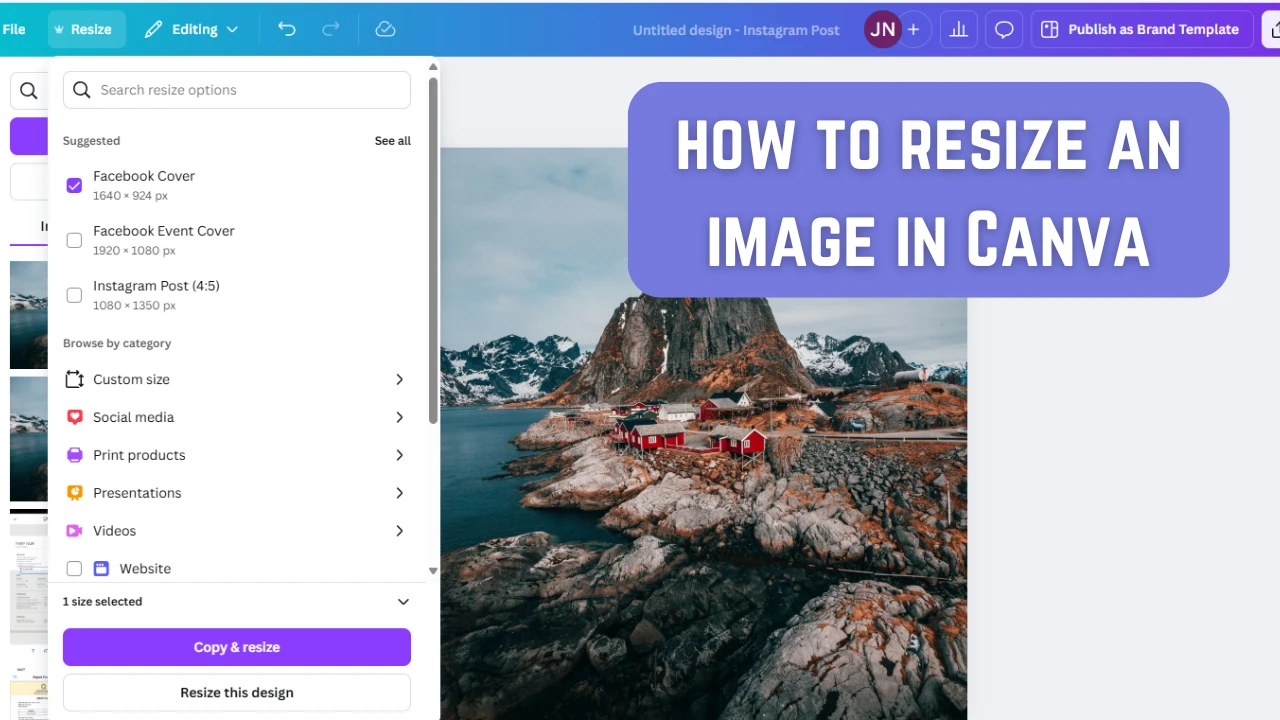
- On the top toolbar, select Resize.
- Adjust to your desired pixel width and height (e.g., 1200px wide for featured images).
- Download at the adjusted size before compressing further if necessary.
3. Use Canva’s Image Converter & Compressor Tool
Have a finished image and need it super lightweight? Canva offers a free online image converter letting you switch between file types (JPG, PNG, WebP) and further compress for web delivery. Simply upload your completed design, choose the required format, and download a smaller-sized version.

4. Use External Image Compression Tools and Plugins
Canva’s output is great, but for extra control and efficiency, you can run images through trusted external compression services before uploading to your site:
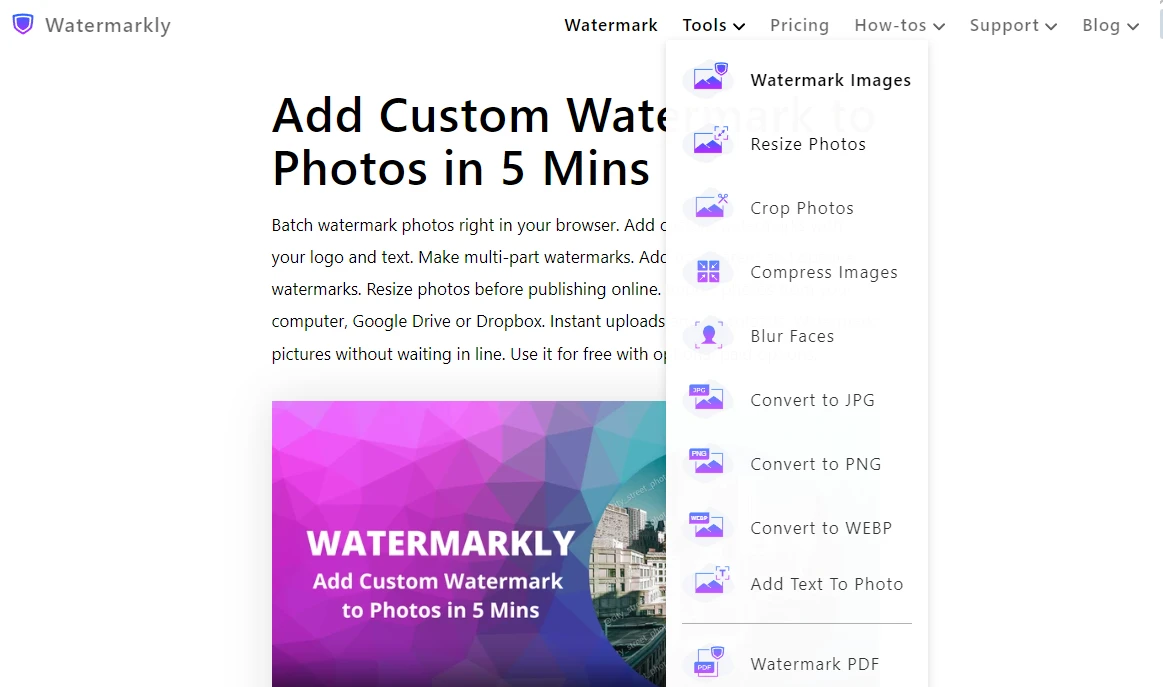
- TinyPNG or TinyJPG: Drop your Canva image in for powerful compression.
- Compressor.io: Handles JPEG, PNG, GIF, and SVG files.
- ShortPixel, Imagify, or Smush (WordPress plugins): Automatically optimize on upload.
- Cloudinary: Advanced cloud-based image optimization for developers and enterprises.

Quick Rules of Thumb
- Choose the right format: JPG for photos, PNG/WebP for logos or graphics with transparency.
- Keep files under 200 KB for blog images (100 KB is excellent).
- Match image dimensions to display space — don’t upsize or overshoot layout width.
Challenges, Myths & Common Objections About Compressing Canva Images Before Upload
Despite all the benefits, some creators hesitate to compress images, fearing blurry results or a complicated workflow. Let’s clear the air:
- Myth: “Image compression will ruin my quality.”
Reality: Smart compression (60–80% quality, right formats) preserves sharpness—only excess bytes are discarded. - Objection: “It’s too technical.”
- Reality: Canva’s sliders and online tools make it a one-click task.
- Myth: “PNG is always better.”
- Reality: Use PNG only for transparent graphics. JPEG or WebP is up to 80% smaller for photos.
- Challenge: “What about automation?”
Reality: Plugins like ShortPixel or Smush will take care of automatic image compression even after you upload, ensuring you never forget or have to redo the process.
FAQs: How to Compress Images from Canva Before Upload
How do I compress a Canva image before uploading to WordPress?
Export your design as JPG using Canva’s quality slider at 60–80% quality. For best results, also run your file through TinyPNG or install a WordPress image optimization plugin to automate future uploads.
Which file format is best when downloading from Canva for webpage use?
JPG is ideal for photos and backgrounds; PNG only if you need transparency or crisp edges. For cutting-edge optimization, try the WebP format via Canva’s converter or WordPress support.
Do I lose quality if I compress images made in Canva?
Minor compression (down to about 70% quality on JPG) is visually lossless—you won’t notice changes, but your images will be much lighter and load faster.
Does Canva have built-in compression features?
Yes! With Canva Pro, you can use the quality slider when downloading. Canva’s free Image Converter also gives you control for different file types and reduces unnecessary bloat.
What is the maximum size an image from Canva should be for web upload?
Aim for under 200 KB per image for blogs; keep dimensions matching your site’s display requirements to avoid slow loads.
What if I already uploaded uncompressed images from Canva?
Use image optimization plugins like Smush or ShortPixel to compress existing library files on WordPress—no need to re-upload everything.
Can I automate image compression every time I upload visuals?
Absolutely! WordPress plugins and workflow tools can compress on-the-fly, reducing manual steps after you download from Canva.
Why shouldn’t I just upload PNGs everywhere?
PNGs are best for transparency or sharp lines; for photos or large graphics, JPG/WebP provides similar quality with drastically smaller file sizes.
Does image compression impact SEO performance?
Yes—faster-loading images improve your site’s Core Web Vitals, boosting rankings and helping you attract more visitors organically.
Where can I learn more about compressing images from Canva before upload?
Check out the official Canva Image Converter docs, or see hands-on video tutorials from YouTube and leading image optimization blogs.
Conclusion: The Smart Way to Compress Images from Canva Before Upload
Compressing images from Canva before upload is not just a best practice; it’s essential for modern websites, powerful SEO, and customer satisfaction. By exporting designs in the right format and dimension, using Canva’s built-in tools, and leveraging external optimizers, you ensure your graphics look fantastic without slowing down your digital presence. Whether you run a blog, ecommerce shop, or portfolio, a few extra seconds spent on image compression will pay you back in speed, rankings, and user engagement. Make it a core part of your Canva-to-website workflow—and enjoy web pages that pop and load instantly!
SEO Enhancements & Final Tips
- Target the keyword how to compress images from Canva before upload throughout your content and headings.
- Mix in related phrases like Canva, upload, images, before, compress, and web optimization tips naturally.
- Regularly check your images via Pagespeed Insights or GTMetrix to measure the impact of your compression efforts.
- For WordPress, automate wherever possible with trusted plugins—or add a pre-upload checklist to your SOP.
- Visit Digital With Sandip for more hands-on website and design optimization guides.
- Bookmark our image compression category for updated strategies as Canva evolves!
Ready to put these steps into practice? Next time you finish a Canva masterpiece, compress first—upload second. It’s the small web habit with huge results.