
Have you ever opened Canva only to feel instantly overwhelmed by countless designs scattered everywhere? Whether you’re a designer, social media manager, entrepreneur, educator, or content creator, you probably deal with this messy struggle every week. But what if I told you there’s a simple way to transform that chaos into calm by learning how to organize designs inside Canva folders? In this comprehensive guide, you’ll get actionable steps, creative hacks, and insider secrets to master your folders—so you spend less time searching and more time designing. Let’s clean up your Canva dashboard and unlock effortless productivity, together!
What is Organizing Designs Inside Canva Folders?
To keep your creative workflow streamlined, it’s crucial to understand what it really means to organize designs inside Canva folders. At its core, it’s all about grouping your designs and assets—such as social media templates, client projects, brand kits, and even uploaded images—into clearly labeled, structured folders inside your Canva account.
Instead of a cluttered “All Your Designs” section, your work is sorted just like physical files—making everything easy to find. This is especially powerful when you’re working on multiple projects, clients, or teams. By leveraging Canva folders, you create a custom filing system that reflects your unique workflow and inspires more focused creativity.
Why Organizing Canva Designs Matters
Why bother organizing your Canva designs and folders? Here are the real-world benefits you’ll notice instantly:
- Save Time: No more digging around! Find any design or template in seconds.
- Boost Productivity: Jump straight into designing instead of organizing every session.
- Reduce Stress: An organized dashboard means less overwhelm and a clearer creative mind.
- Scale Easily: Manage growing projects, teams, or clients effortlessly without chaos.
- Sharable Organization: Collaborate and share whole folders with teammates or clients.
- Maintain Consistency: Quickly access brand kits, assets, and reusable templates.

Statistics and community discussions (like on Reddit or Canva’s help pages) repeatedly confirm that organizing inside Canva with folders boosts your design productivity and happiness—especially if you’re managing hundreds of designs inside your Canva account.
Use Cases: Who Needs Canva Folder Organization?
From solopreneurs to agencies, anyone can benefit by learning how to organize designs inside Canva folders. Here are popular scenarios:
- Social Media Managers: Separate content calendars, Instagram posts, and story templates by platform or month.
- Freelancers/Agencies: Create client-specific folders for each brand or campaign, making handovers a breeze.
- Teachers & Coaches: Store lesson plans, worksheets, or webinar materials in themed folders.
- Ecommerce Brands: Organize product launches, seasonal graphics, and advertising creative by promo or season.
- Students/Researchers: Collect visual assets, presentation templates, and research decks all in one place.
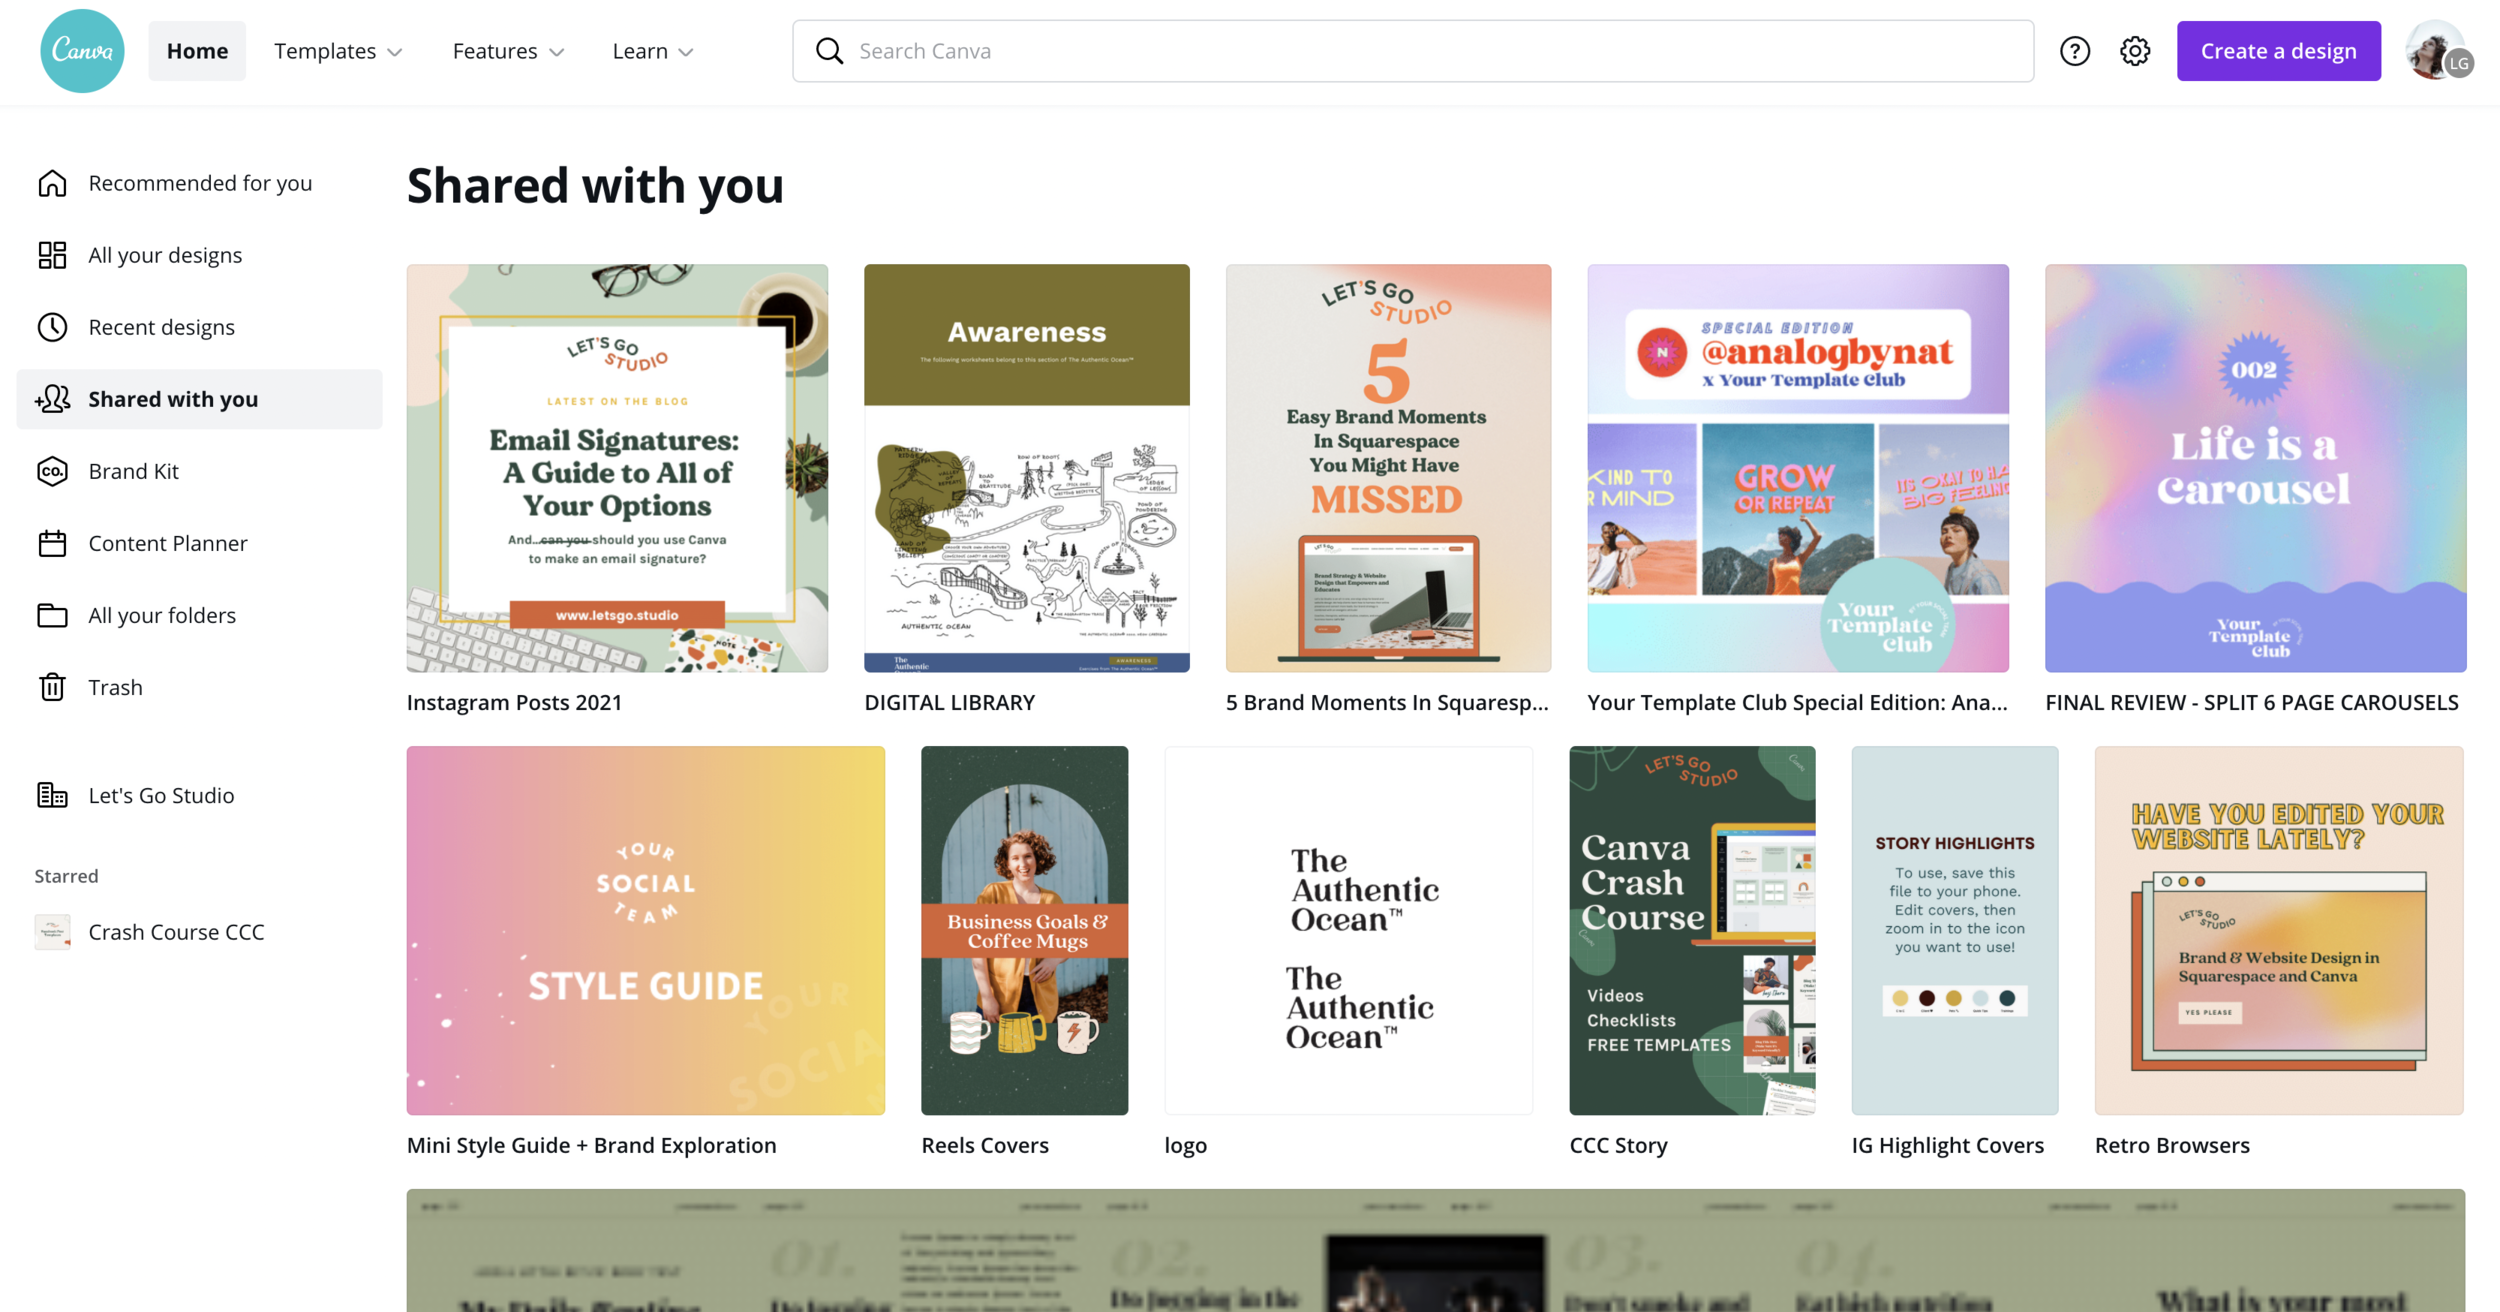
- Team Collaboration: Share entire folders so everyone accesses the right designs and folders at any time.

No matter your niche, the solution is the same: organizational clarity that saves time and sanity.
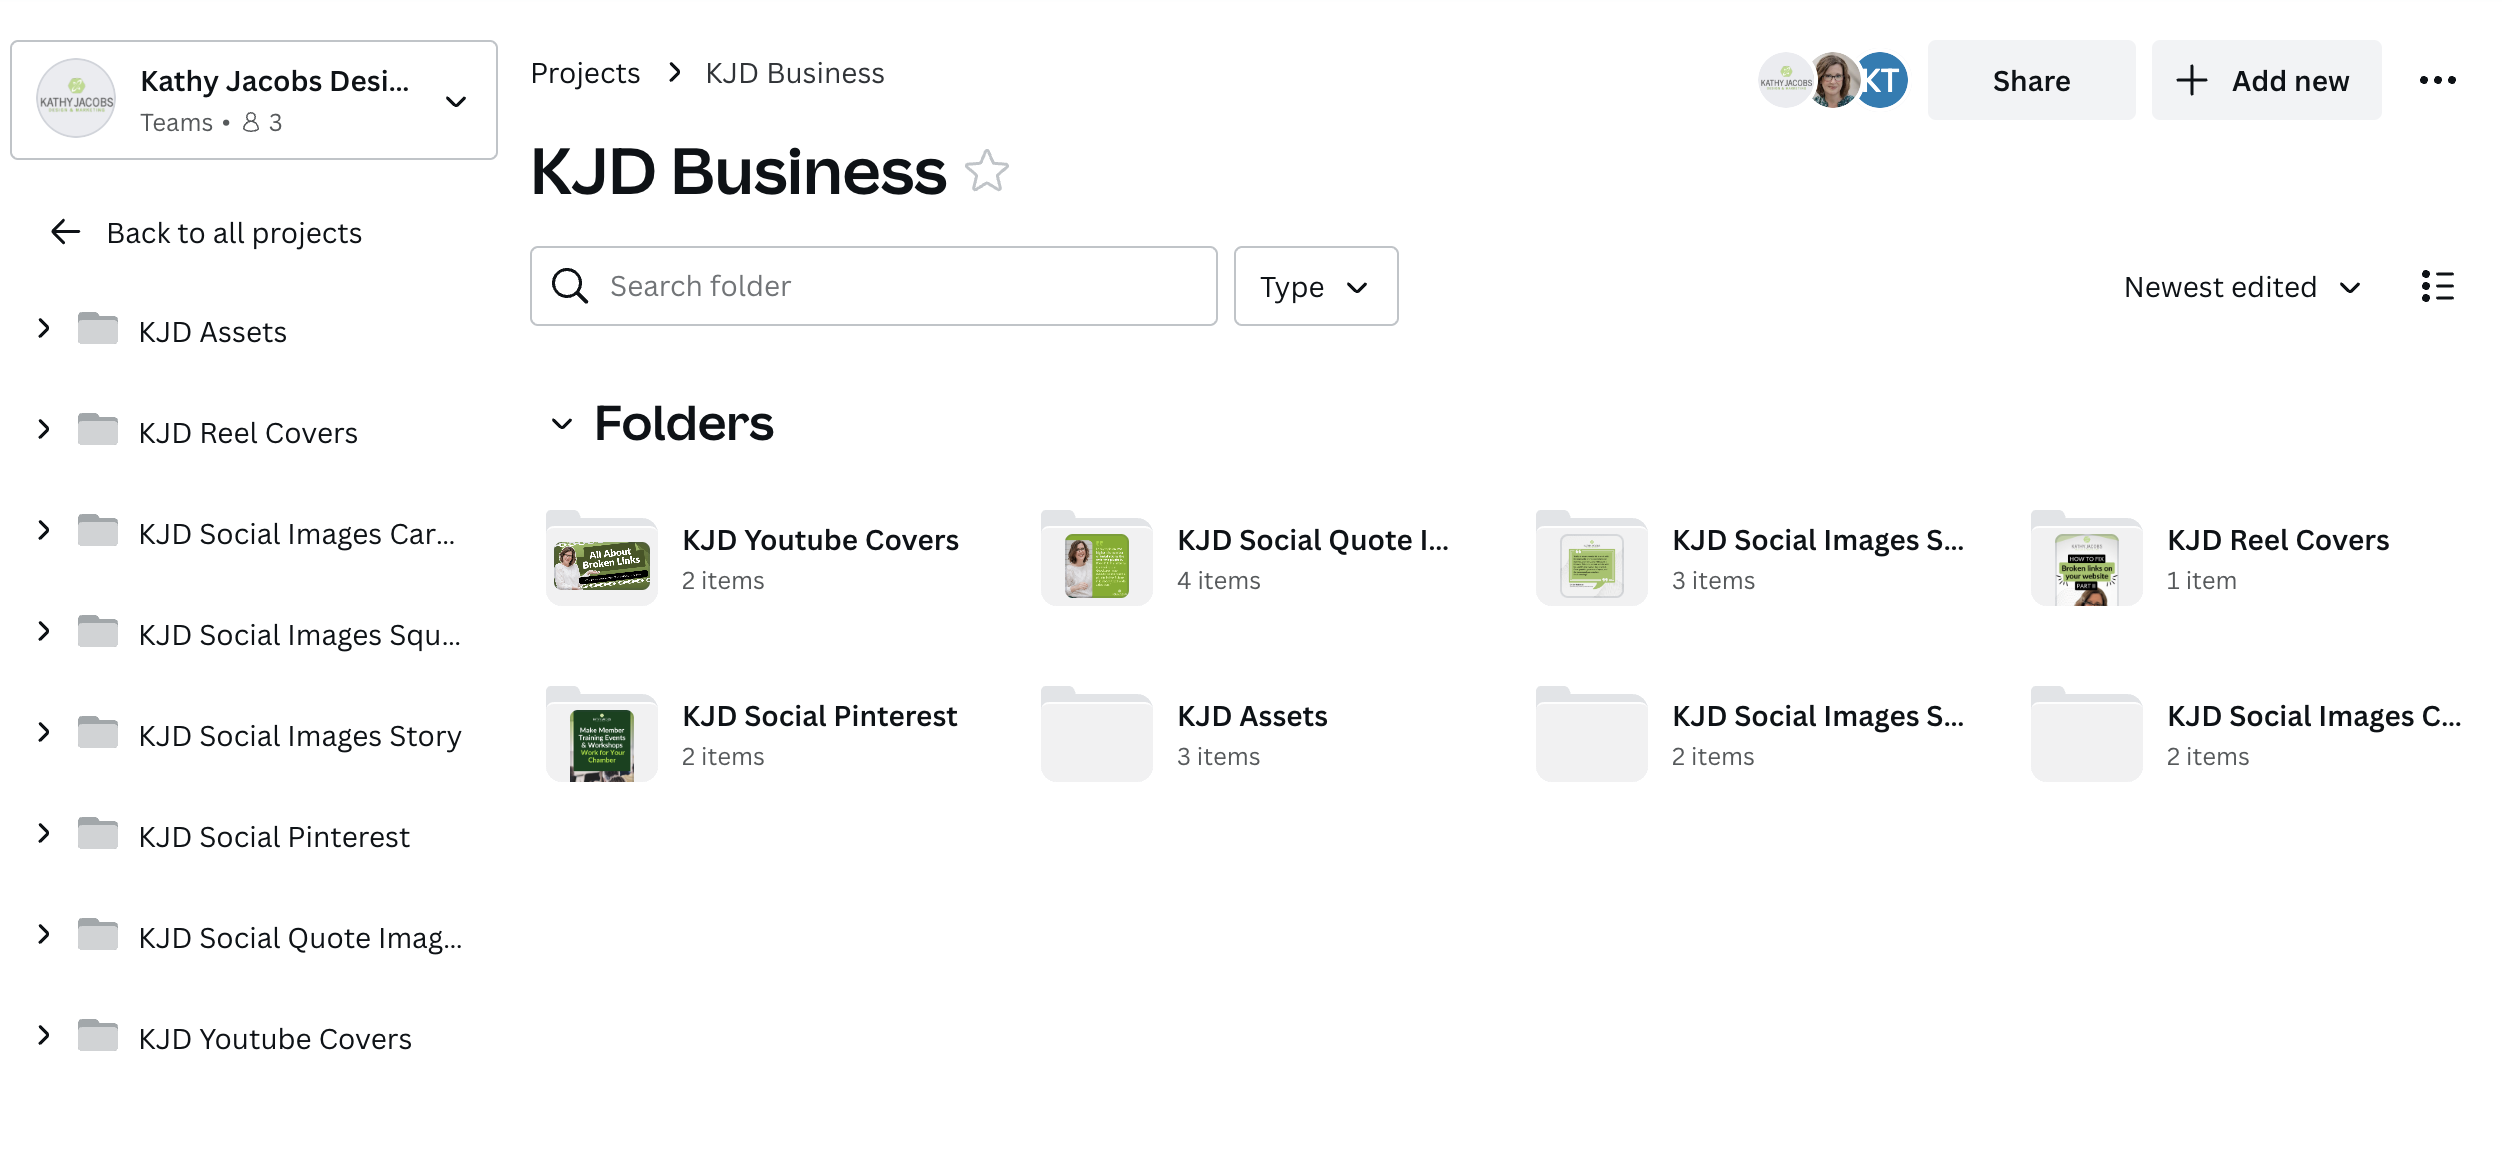
Step-by-Step: How to Organize Designs Inside Canva Folders
Ready for the action steps? Here’s how to organize designs inside Canva folders for maximum effect—no more confusion or wasted time.
Step 1: Audit and Categorize Your Canva Designs
Open Canva and scan through your “All your designs” section. Make a quick list of categories you commonly need—such as “Clients,” “Instagram Posts,” “Brand Assets,” or “Workshops.”
Step 2: Create Folders in Canva
Click the Folders tab on the left sidebar, then “+ New Folder.” Name it according to your chosen categories—such as “Q3 Social Media,” “Client: Acme Corp,” or “Ebook Assets.”

Step 3: Move Designs Into the Right Folders
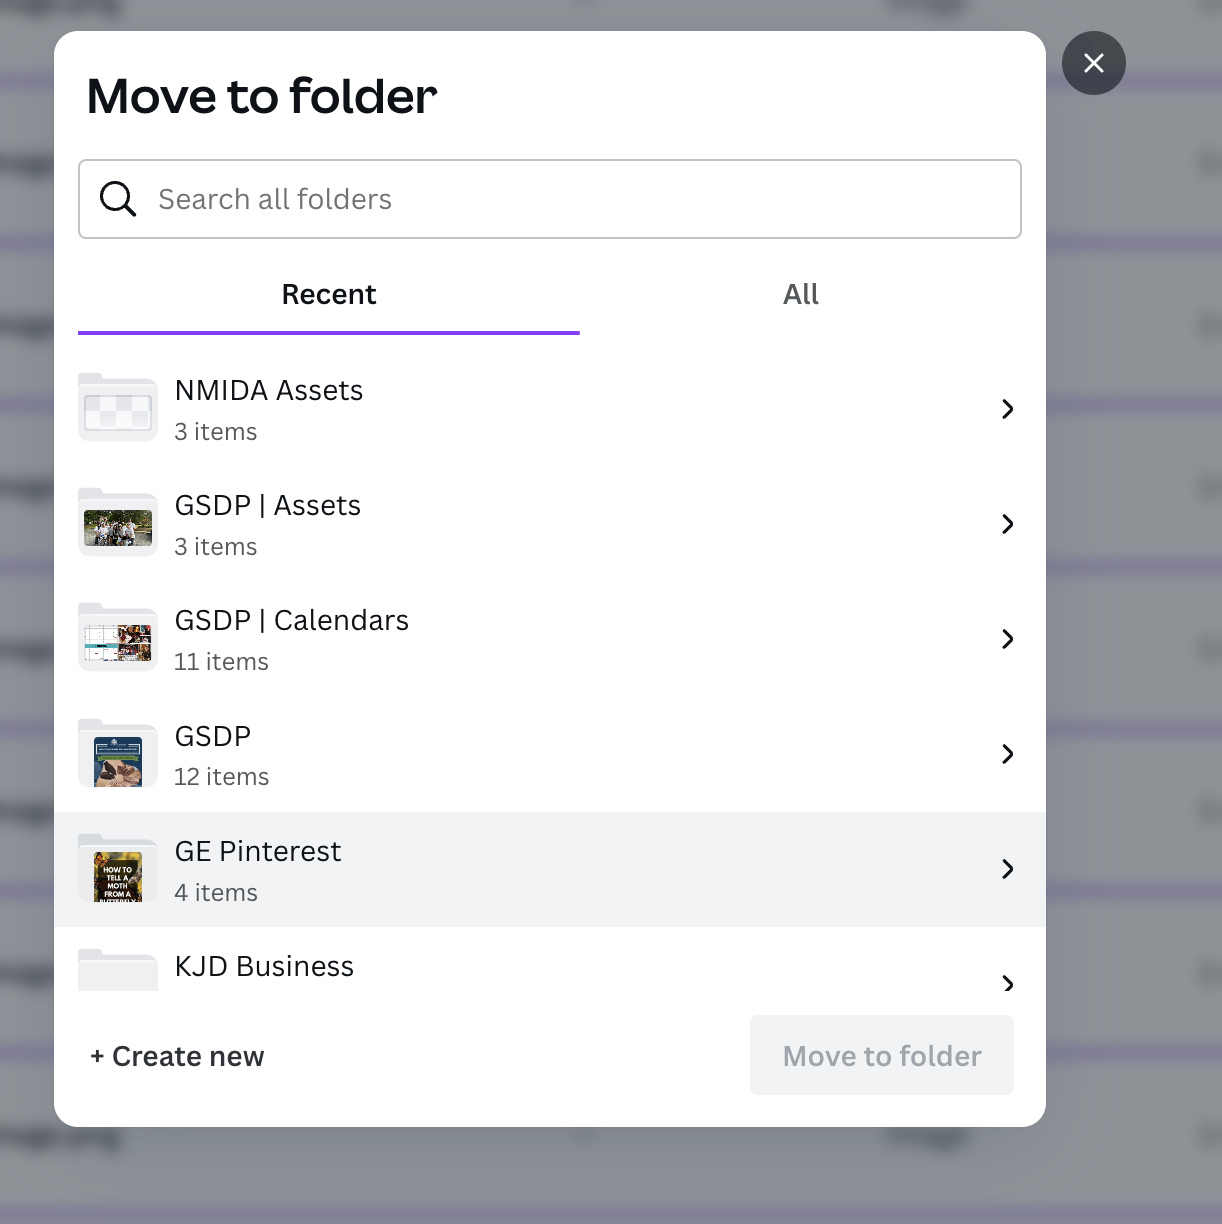
Select your designs (you can select multiple by holding Shift), then click the “Add to Folder” or drag and drop into your new folder. You can also use “Move to Folder” for quick sorting.
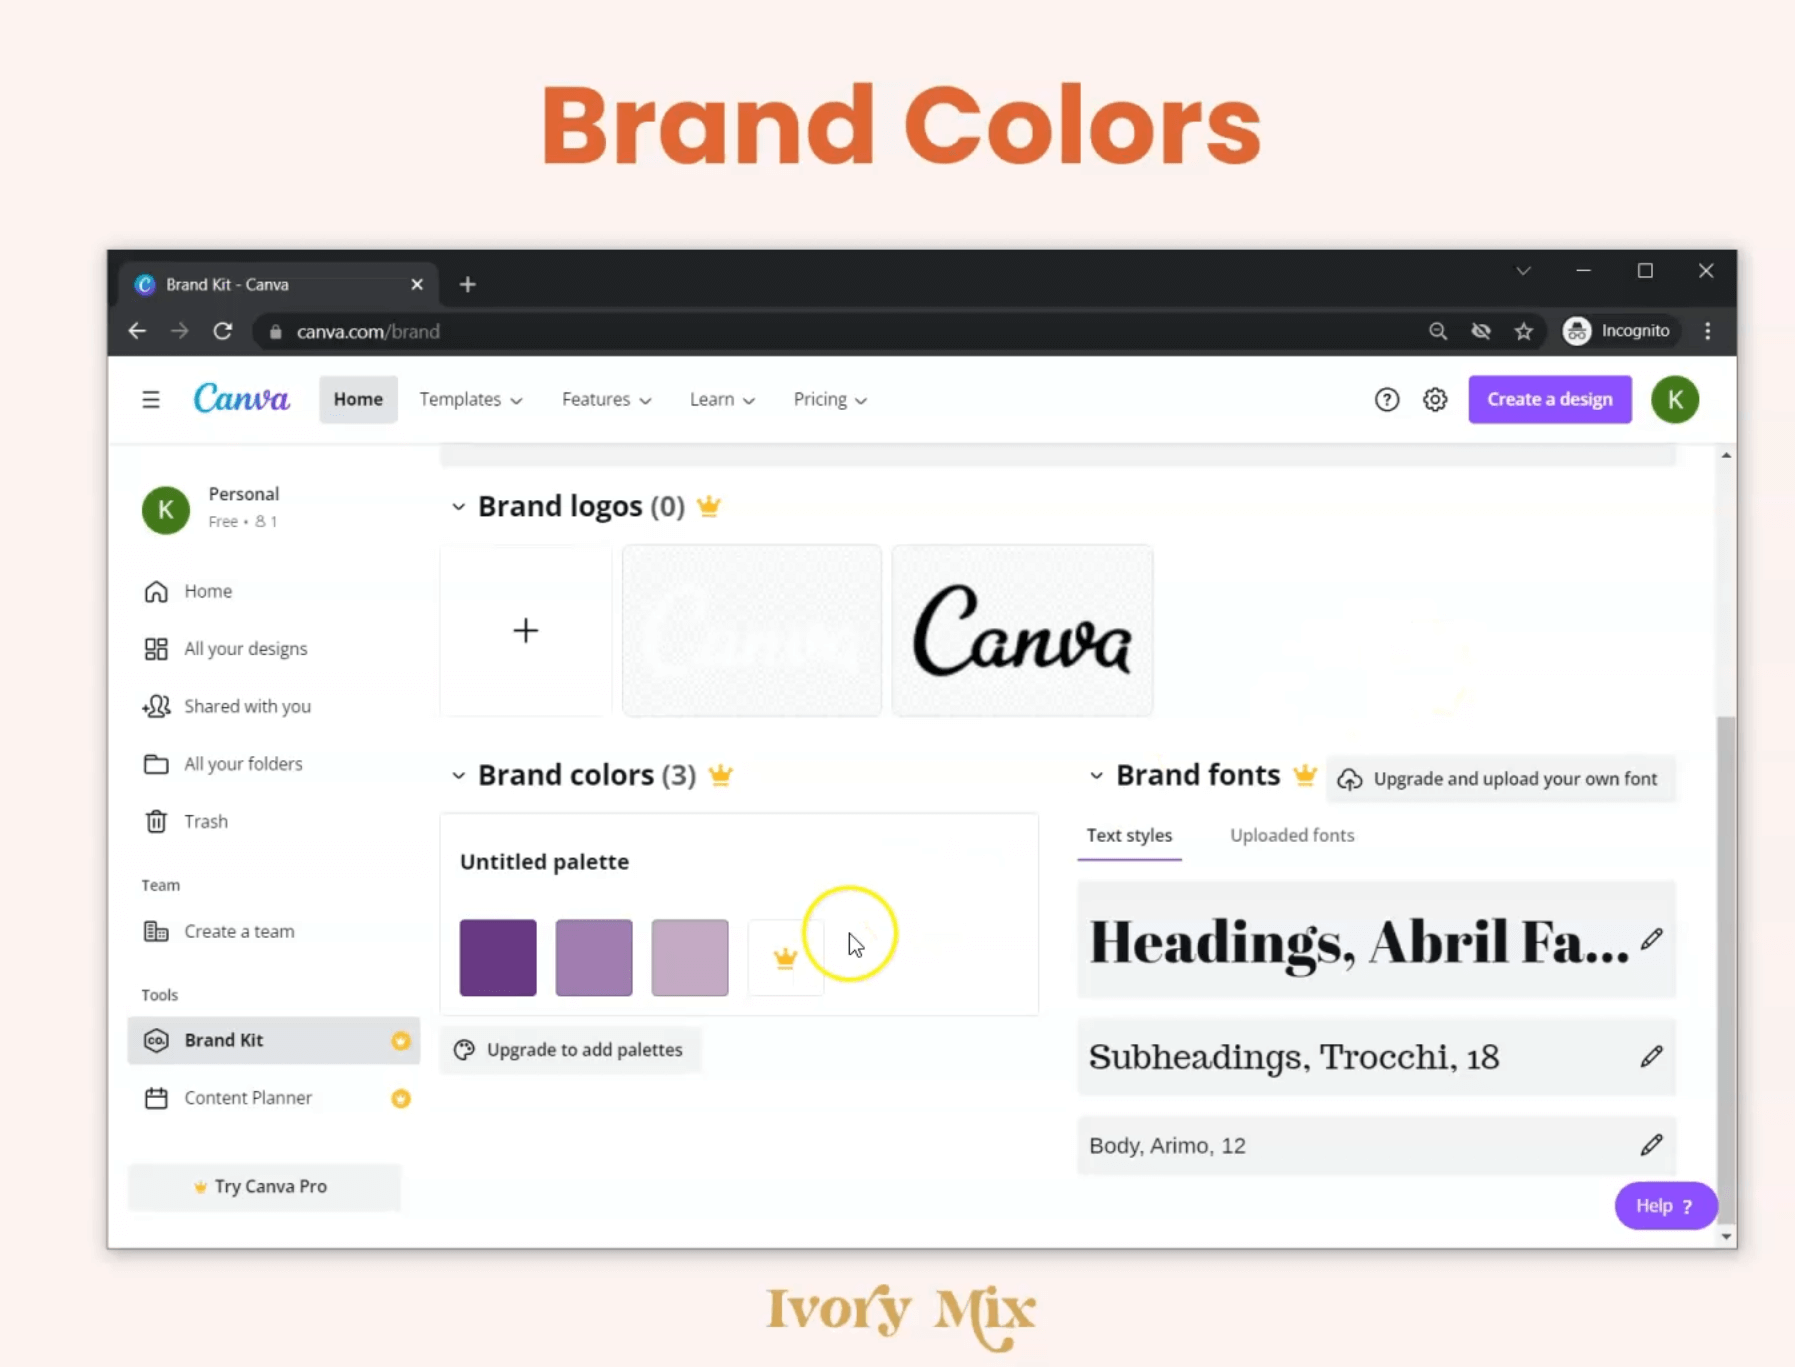
Step 4: Organize Uploaded Media and Brand Kits
Don’t stop with just designs—add logos, color palettes, and typography by organizing your Brand Kit and uploading media assets directly to folders, so every project has quick access to the right files.
Step 5: Share, Archive, or Duplicate Folders for Efficient Workflow
Need to update a team, client, or colleague? Share the entire folder—Canva lets you invite collaborators, so everyone has the latest files. Finished with a project? Archive the folder to keep your workspace tidy, or duplicate it for seasonal campaigns.
Step 6: Clean Up Regularly & Maintain Naming Conventions
Set aside time monthly to delete duplicates, clear unused assets, and tweak folder names as your needs change. Use dates, project names, or campaign tags. Try a system like “2024-Q3-ClientName” for instant chronological sorting.

By following these six steps, you’ll master how to organize designs inside Canva folders—with every file and template instantly at your fingertips.
Challenges, Myths & Objections About Canva Folder Organization
“Folders Take Too Much Time to Set Up”
It’s a common myth, but setting strong folder foundations only takes minutes (seriously, try it for 10 minutes and feel the difference next time you log into Canva). Future organization becomes automatic!
“I’ll Never Remember Where I Put Things”
By keeping naming conventions simple and intuitive, you’ll always know where to find your designs inside organized folders. Plus, Canva’s search function now tracks folder names for extra help.
“I Work With a Team, It Gets Messy Fast”
Utilize sharable folders and clear guidelines (e.g., who moves files when finished). Collaborative folders mean your team’s workflow speeds up—not just yours.
Challenges Unique to Canva Free vs Pro Accounts
Free users have some limits (like fewer folders), but smart folder naming and regular purging keep you agile. Pro and Teams unlock unlimited folders, brand kits, and advanced sharing.
FAQs: How to Organize Designs Inside Canva Folders
1. Can I put one design in multiple folders inside Canva?
Yes! In Canva Pro and Teams, you can add a single design to multiple folders, making it visible in all relevant places without duplicates.
2. How many folders can I create in Canva?
Canva Free users have a limited number of folders (usually up to two). Canva Pro and Teams accounts allow unlimited folders for organizing designs, images, and files.
3. What types of files can I store inside Canva folders?
You can organize any Canva design, uploaded images, logos, PDFs, videos, and even brand kits inside folders for easy access.
4. Can I rename, delete, or move folders in Canva?
Absolutely. Right-click on a folder to rename, move, duplicate, archive, or delete it—giving you complete control over your Canva file structure.
5. How do I create subfolders in Canva?
Subfolders aren’t natively supported as of now, but you can create a “parent folder” and use clear naming (like “Client – Social Graphics” and “Client – Documents”) for a similar effect.
6. Can folders be shared with clients or team members?
Yes, with Canva Pro or Teams, you can share a folder and set permissions—so clients or teams only see what they need to.
7. Is there a best practice for naming folders in Canva?
Use clear, descriptive names—like “2024 Launch – Social,” “Client – Brand Kit,” or “Monthly Reports”—and (optionally) dates for automatic sorting.
8. What happens if I delete a folder inside Canva?
Deleting a folder won’t delete the contained designs—they remain in “All your designs.” But deleting the designs themselves removes them everywhere.
9. Can I automate the organization in Canva?
Currently, Canva does not support folder automation, but zapier integration and regular habits keep your workspace orderly.
10. Do folder structures sync across devices?
Yes! Any folder or organization changes you make sync instantly on web, desktop, and the Canva mobile app for a seamless experience.
Conclusion: Take Control—Organize Your Canva Designs Today
If you’re tired of wasting precious time searching for files, now is the perfect moment to organize designs inside Canva folders. Imagine the peace of mind (and creative flow) that comes from an organized workspace—no more chaos, only inspiration.
The simple steps outlined here take you from overwhelm to mastery. From clearly named folders to sharable systems and regular clean-up, every minute invested yields hours saved. Whether you’re solo, part of a fast-growing team, or scaling your creative business, folder organization unlocks a new level of efficiency inside Canva.
Ready to start? Log into Canva, create your first folder, and reclaim control over your creative world. Your future self will thank you—happy designing!
How to organize designs inside Canva folders is the foundation for any productive Canva workflow. With the best folder structure, you save time, collaborate better, and ensure no design is ever lost. Use this guide to add folders, sort designs, and stay organized inside Canva—every tip here is based on real user experience and Canva’s latest features.
For more expert design and digital marketing tips, check out the rest of our resources at DigitalWithSandip.com or deep dive into the official Canva Help Center for the latest updates.